How To Make Greek Yogurt | Thick and Creamy
Make thick, creamy homemade Greek yogurt with just two ingredients. Skip the additives and enjoy healthy, traditional, high-protein, Greek-style yogurt at home.
Equipment
- Instant Pot, If you don’t have an Instant Pot, you can do this all in a large pot on the stovetop and then place your pot in the oven with the light on for the incubation time as an alternative.
- Wooden spoon
- Colander
- Cheesecloth
- Bowl Cover
- Storage Vessel
Ingredients
- ¼ Cup Real Yogurt or 1 frozen yogurt puck
- 1 Gallon Milk
Instructions
- Heat the Milk: Pour 1 gallon of milk into your Instant Pot and press the “Yogurt” setting until it says “BOIL”. Heat the milk to 85-90°C (185-194°F), stirring often to prevent burning on the bottom. Note: the Instant Pot BOIL function should turn the heat off once it hits the right temperature but keep an eye on it.
- Cool the Milk: Once the milk has reached the proper temperature, let it cool down uncovered but protected from contamination (like other food, dust or insects) until it reaches 40-45°C (104-113°F). This is the ideal temperature for adding your yogurt starter culture.
- Add the Starter Culture: Once the milk has cooled to the appropriate temperature, add a 1/4 cup of store-bought plain yogurt or a frozen yogurt puck. Mix well to ensure the yogurt is fully incorporated into the milk.
- Incubate the Yogurt: Cover with the lid, set the valve to venting, and press the “Yogurt’” button. Let the yogurt incubate for 8-24 hours, depending on how tangy you want your yogurt. The longer it ferments, the tangier it becomes. (I end up fermenting between 12-18 hours).
- Strain and Set: Line a colander with cheesecloth and insert into a large bowl to catch the whey. Pour your fresh yogurt into the lined colander. Cover and let strain for 2-8 hours.
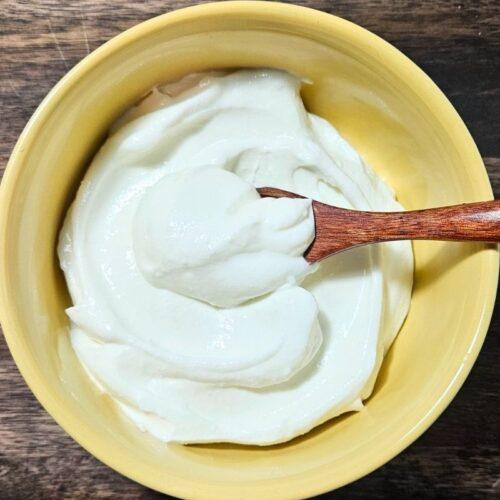
- Whisk and Store: Once your yogurt has released the whey and set, transfer to a bowl and whisk to emulsify and making creamy and smooth. Adjust consistency as need be by adding a little extra liquid whey. Store in a glass or plastic container in the fridge.
- Optional Step for Future Batches: For future yogurt-making, make frozen yogurt pucks by filling silicone muffin molds with yogurt and freezing them. These yogurt pucks can be used as the starter culture for your next batch, saving you from buying store-bought yogurt every time!
Notes
If you don't have an Instant Pot, you can heat the milk in a large pot on the stovetop and then place your pot in the oven with the lid on and the oven light on for the incubation time as an alternative.