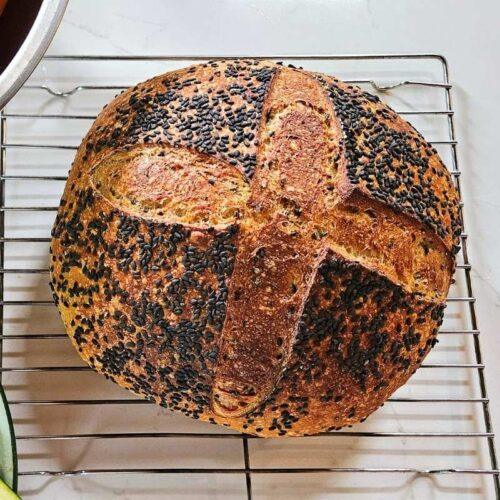
Miso Black Sesame Sourdough Bread Recipe
This miso black sesame sourdough is one of those loaves that looks like it came from a fancy bakery but is completely doable at home.
ingredients
- 250g water
- 30g miso paste
- 150g active sourdough starter
- 125g whole wheat flour
- 250g all purpose flour
- 30g black sesame seeds
- 10g salt
instructions
- Add water + miso paste to your bowl, mix until dissolved. Add sourdough starter, white flour, whole wheat flour and black sesame seeds. Mix until no dry bits. Rest 30–60 min (autolyse).
- Add salt with a splash of water, squeeze in until fully integrated and dissolved. Rest 30 minutes.
- Perform a series of stretch and folds. Let rest for another 30 minutes.
- Perform another series of stretch and folds. Let the dough rest until doubled in size, jiggles, and has a domed surface. (Warm 4–6 h; cool 8–12 h.)
- Pour your dough out onto the counter. Pre-shape into a ball and let it bench rest for 20–30 minutes. Final shape into a round shape. Sprinkle black sesame seeds or flour on top of you loaf and place it in your banneton basket, seam side up.
- Proof OptionsSame-day bake: cover and let rest on the counter at room temperature until risen and puffy (1-3 hours).Next-day bake: cover and refrigerate 8–24 hours for enhanced flavour, structure, fermentation & easy scoring.
- Preheat your oven to 500°F with the Dutch Oven inside for 30-60 minutes. Gently remove your loaf from the banneton basket to a large piece of parchment paper by flipping it over so seam side is down. Once preheated, score the top with an "X". Remove the hot Dutch oven from the oven and then carefully place your loaf into the hot Dutch oven, cover with the lid, and return to the oven. Bake for 20–25 minutes covered and then 10-15 minutes uncovered, until dark golden crust is achieved.
- Cool 1 hour minimum before slicing to ensure the crumb has fully set and then enjoy with a generous amount of butter!